creativity
Step-by-Step Guide: My Comics Process
This is my next graphic novel project! Filling in the blanks should be no biggie, right? Well, there’s a little more to it than that.
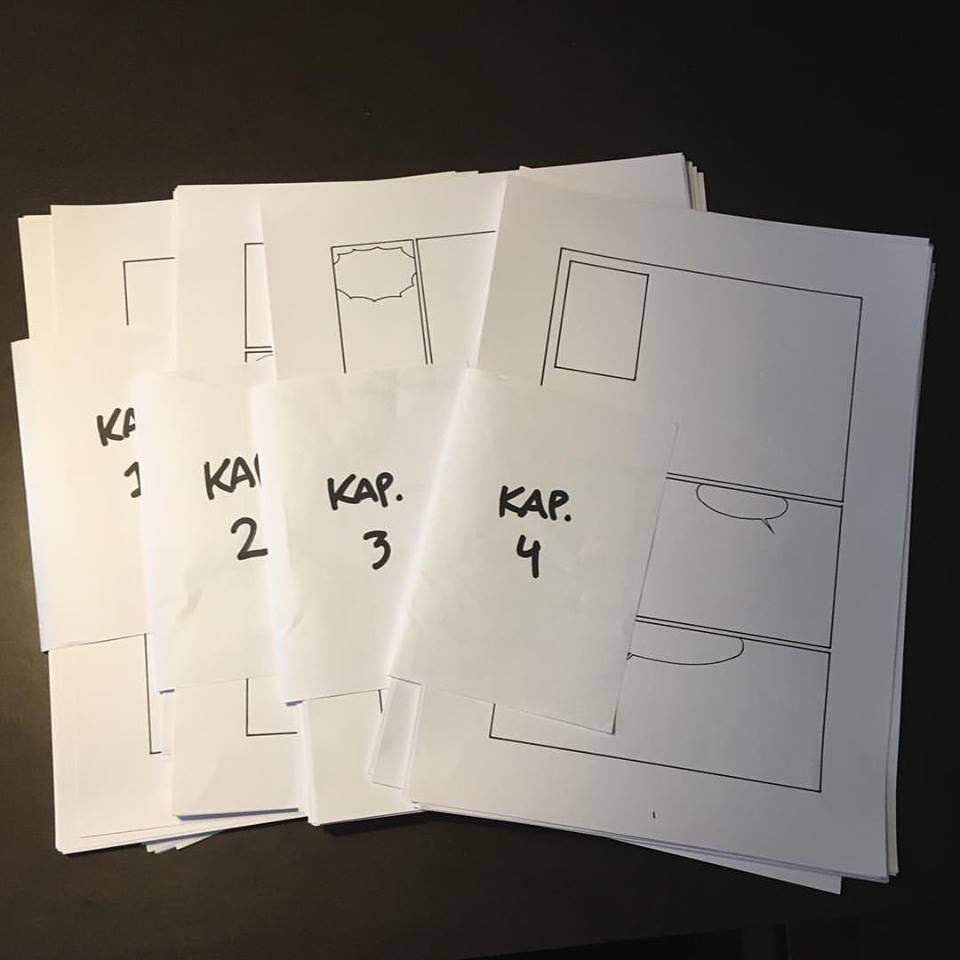 I recently posted this picture on Instagram and Facebook that got a lot of likes – and a lot of questions! So I thought I’d elaborate a bit on how I actually tackle the creation of a comic or graphic novel. I go into detail with certain elements in my premium 10-video tutorial series, but these are the basic steps I go through every time.
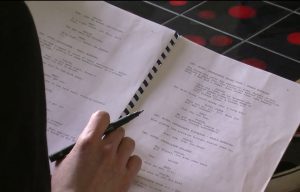 1: Script
Having a finished script before you start drawing increases your chance of actually finishing with about 3000 percent. The first 2 videos of the premium series covers this (and those episodes are free). Sometimes I’ll get a script from another writer but I often work off my own or have to break the story down into pages.
2: Thumbnails
This is little scribbles just to get a grip of the page breakdowns. I don’t neccesarily do it for every page but it can be very helpful. The more I plan before I start drawing, the more smoothly the rest of the process. There is a podcast episode about making those hard choices here.
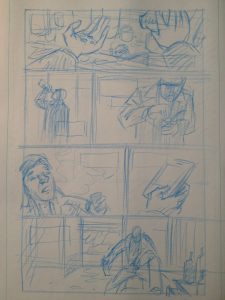 3: Rough sketches
Once I know sort of what the layout of the page will look like, I can start rough sketching pictures. As you’ll notice, this is bare bones storytelling, just enough for others to make out what is going on. No more, no less. I usually sketch on half pages, not full size. No need for bigger format when I’m not doing details – in fact the smaller format often helps in creating a clear layout.
4: Borders and lettering
After scanning my rough sketches, I put them in an InDesign document. If it’s an issue of a comic, I’ll make seperate 22-page files that stick to the same template. I’ll start by creating a standard border for the entire project and just plunk that in between all the frames. Then I’ll put the lettering in where it needs to go. Please note, that this is not the final document! I can adjust the lettering once I have the finished art. For full breakdown of this process go here.
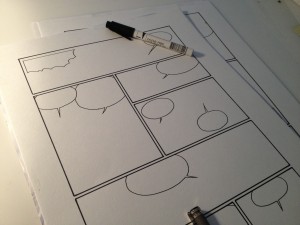 5: Borders and balloons
Using a print-out of my now lettered rough sketches, I am ready to draw the actual pages. BUT, since I might need my borders and speech balloons in a clean format, I do the boring work of inking that part first. This is what the image I posted on Instagram portrayed – I can see why there was some confusion as to how I actually worked!
After I’ve traced the borders and balloons on the board I intend to do the rest of the artwork on, I scan the whole thing. Why? I’ll explain in step #8.
6: Sketching
Using my rough sketches as a guide, I’ll sketch the pages going into more detail, especially on backgrounds and stuff. A picture might change from my original ideas, but I always stick within the frames I already decided on. There’s a video of that process here.
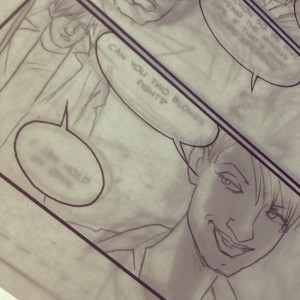 7: Inking
Using a lightbox I trace my skectched pages on the boards that already has the borders and balloons. I can adjust the images a bit if needed. Sometimes I do painted art and other times I ink with black markers. There’s a video of me inking a page of Thomas Alsop here.
I don’t need to worry about paiting outside the borders in this stage because I’ve already scanned the clean pages with just balloons and borders, and no art.
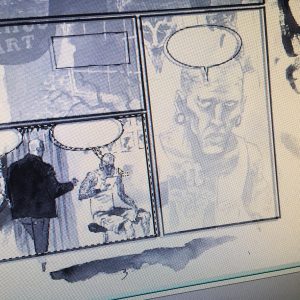 8: Scanning and clean-up.
Remember when I said I might need the borders clean? This is the step. I used to I scan my inked pages and clean up mistakes where I painted outside the frames or over speech balloons. Now I just use the already scanned borders. I just smack my clean borders over the finished art in Photoshop, turn the opacity down a bit so I can see what I’m doing and adjust the corners. It took me a while to figure this out, because sometimes a scanner will skew things a little bit. But I discovered that if I do a “free transform” and focus on the four outer corners of the borders, the rest will sort itself out.
Once the two layers match up, I’ll select all the white within the frames on the top layer and delete that. Then I turn the opacity of the layer back up to 100% and viola! I now have a layer with nice, clean borders and balloons on top, and whatever mistakes (painting outside the borders) I made are hidden underneath. I flatten the file and export it, usually as a high-res tiff file.
8.1: Coloring (optional)
I’m not gonna go into detail here, but you might want to check out this post on coloring in Photoshop.
9: Repeal and replace!
Admitted, I don’t really call it that. But I do have to go through my already lettered InDesign file and delete all the border blocks and replace my rough sketch with the finished art. Some adjusting to the lettering is usually neccesary but then I have the entire book or issue ready to send to the graphic designer or export as a PDF directly for print.
10: Celebrate
I usually skip this step, honestly. But having typed up this post and seeing how much work goes into creating a graphic novel, I feel like I should make a point of this going forward.
Hopefully this answered some of your questions and gave you a few ideas to implement in your own process. Please share this post if you found it helpful!
One Item To-do List
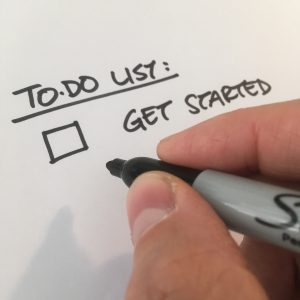 I don’t know about you, but I have a to-do list about a mile long. And however many things I check off the list, I never seem to get to the bottom.
That’s why I’ve decided to try out a new approach. A to-do list with just one thing on it: Get started.
You see, procrastination is something that usually kicks in before you even sit down to work on whatever you should be working on. Once I get started, I normally keep going until I have to go pick up my kids or cook dinner. I find that the resistance comes when there are too many choices, too many conflicting tasks.
If you want to get in shape, I sincerely doubt that a complex workout plan is not going to be helpful. You want to make it easy for yourself, get some momentum going. Set a tiny goal like just get on the treadmill every day. Just get on it. And what are you going to do, just stand there? Might as well start moving.
And just as a disclaimer; I don’t know anything about getting in shape. I’m not and never have been in any particularly good shape. That’s not the point. It’s the principle of just getting started and not setting too ambitious goals or have a thousand items on your to-do list. Maybe you just need the one checkbox.
Want more productivity tips? Try giving this podcast episode a listen.
What Makes Me a Pro
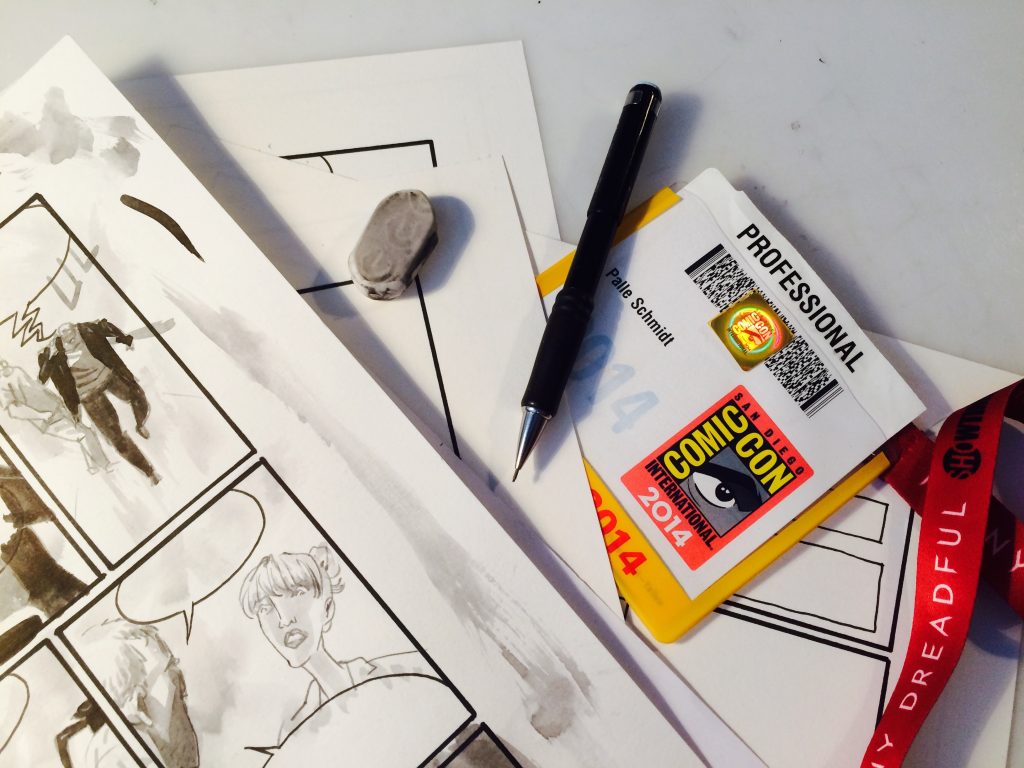 We artists often have a very self-deprecating nature. So let me go against the grain here and try to describe what I find makes me a professional. It’s not that I’m a great artist or a great writer (my self-deprecating nature forbids me to describe myself that way). But at least I’m a pro!
The obvious answer to what makes me a pro is of course that I make a living from my artistic skills and have been for almost 20 years. I’m also very good at keeping my promises (aka. deadlines) which I think is probably the most important thing for a freelancer.
But I just realized that underneath these superficial traits are two very basic principles:
1:
I am aware of my own process enough that I am able to replicate it. That includes knowing how long each step will roughly take so I know what the time frame needs to be for me to deliver and also have an estimate of how much it should cost. This varies with each project depending very much on my own preferences. If it’s something I’m not passionate about, my price goes up. But that’s a whole other discussion.
2:
I am aware of the resistance (as Steven Pressfield calls it) – both internal and external – that may (and probably will) come up along the way. My many years of experiencing the same feelings of self-doubt and boredom, helps me recognize it for what it is: A part of my workflow. It also helps me with strategies to deal with the resistance. Not overcome it, but live with it.
For instance, I will jump to another part of the process if I feel stuck or simply walk away from it for a while, knowing that I will get back in the groove tomorrow or the next day. What I don’t do is start doubting my entire career and self-worth because I have an unproductive day where I feel like I can’t draw to save my life.
There is no set-in-stone answer to how to become a great artist. Everyone is unique in their approach. But for me I believe the above points are crucial. Hopefully it can serve as an inspiration or eye opener for your own artistic process.
If you are looking for more practical advice on delivering the goods as a pro artist, try giving this podcast episode a listen.
2017: The Year of True Independence
 I’ve been an indie artist for almost two decades. Perhaps it’s time to really focus on the indie part.
I’ve told stories before about how I’ve tried in the past to live up to the expectations of others and how little it has helped me. Classmates, friends, family members or peers I’ve worked hard to impress. I’ve spent way to much time comparing myself to others and struggling to make people take notice. I’d like to shift the focus this year to creating things for my own sake. I’m not going to be completely selfish and unintelligent about what projects I take on, I still have commitments and bills to pay. But I think there is a way to measure my success in a more constructive way.
There is a difference between inner motivation and outer motivation. The latter is when you are hoping for the love and respect of a boss, a parent or an audience. You seek validation from the outside world, usually in the form of likes, comments or sells. Here’s the problem with that: It’s highly addictive and it is completely out of your control.
You can scream and jump, but whether people connect to what you put out there in the way that you are hoping for is totally unpredictable.
You can try to guess what people want. You can study the metrics of what seems to work. You can try to emulate previous success. But at the end of the day, who the hell knows, right?
Inner motivation is when you define your own success, in a way that you can control. Sending a pitch to a publisher is a box you can check, you can totally do that. Selling a pitch is a whole other matter and it is beyond your control.
You are giving way too much power to strangers, if you let them decide if you’re succesful or not. Try this instead: Set daily or weekly, tiny goals that you can achieve, like drawing two pages a week or writing an hour every morning. Goals or habits that will likely move you in the direction of your big goal.
I will try to make 2017 the year where seek real independence. Not just financially but also of other people’s opinions. Want to join me on this quest?
Answer these questions for me:
- Who are the five people whose opinion you value the most?
- Who are the people whose judgement you fear the most?
- Are they on the first list? And if not, then could you please stop paying attention to what they think?
Sure you can. And you should.
Happy independence year.
Sign up for my FREE 7-day Comics Crash Course
How to Catch an Artist
 This blog is focused on comics creation as a whole, rather than seeing writer and artist as two separate things. But what do you do if you have a great story written but don’t feel you have the drawing skills to pull it off?
It’s a big commitment for an artist to draw a comic book that someone else wrote.
Getting an artist on board on your big project is not going to be easy, unless you have the cash to pay for their time. And even then, you’re competing with other commitments and paid work.
Being both a writer and an artist, I can see things from both sides. And I know there are more people out there who can write than there are people who can draw. Time is another important factor. You can write five 22-page issues of something in the same time it takes an artist to draw just one. So how do you lure someone into spending weeks and months hunched over the drawing table working on your book?
Here’s what I think will help:
- A script. I would never agree to draw something from a pitch or an idea. If a writer can’t show me any writing, all the alarm bells go off. And if I am expected to commit to a longer series, I need not only a script for the first ten pages, I need to know where it’s all going. I need to know the writer can write and has a plan.
- A track record. Again, showing that you can produce something helps convince others to get on board. If you have other finished projects on your resume, you may be able to hook an artist with just a detailed outline with a beginning, middle and end. A few pages of script is still necessary, to show that you can write.
- A smaller commitment. It’s much easier to agree to draw ten pages in black and white, than a six issue series or a fully painted graphic novel. As a writer, this also gives you a chance to see how the relationship works out. Just because an artist can show excellent work doesn’t mean they can produce it consistently, keep a schedule or be easy to work with. Doing a shorter story is mutually beneficial.
- Money. Sure, we are all for sale. The more money you can put up front, the harder it is for an artist to say no. But like mentioned above, artists can be flaky, so doing a shorter thing together is a good idea before you pay an artist a huge sum for a book they may never deliver.
- Ownership. If you offer to give the artist a creator credit, it helps sell the message that you are both in the same boat. If you do a pitch together (see this page for how to create a compelling pitch) to get a publisher, having split ownership of the property makes the artist invest more time and effort.
- Trust. The cornerstone to any working relationship is reliability and trust. To get an artist to commit time and energy to your project, you need to trust them to do their thing without you looking over their shoulder. You need to trust their decisions and listen to their input – or at least pretend. But you also need to deliver on your promises and not be late with a script, feedback or payment.
Happy hunting!
PS: Even if you never plan to draw anything, it might be a good idea to at least have an idea of the process. So sign up for my 100% free 7-day crash course here.
 Something I’ve been thinking about lately, is how much we as artists (in whatever media or form we work in) are dependent on our own mood and mindset to be prolific or even just get a little something done. Call it tenacity or grit or simply lying self talk that allows for us to continue working on something that the rest of the world deems useless. But what if you’re just not feeling inspired?