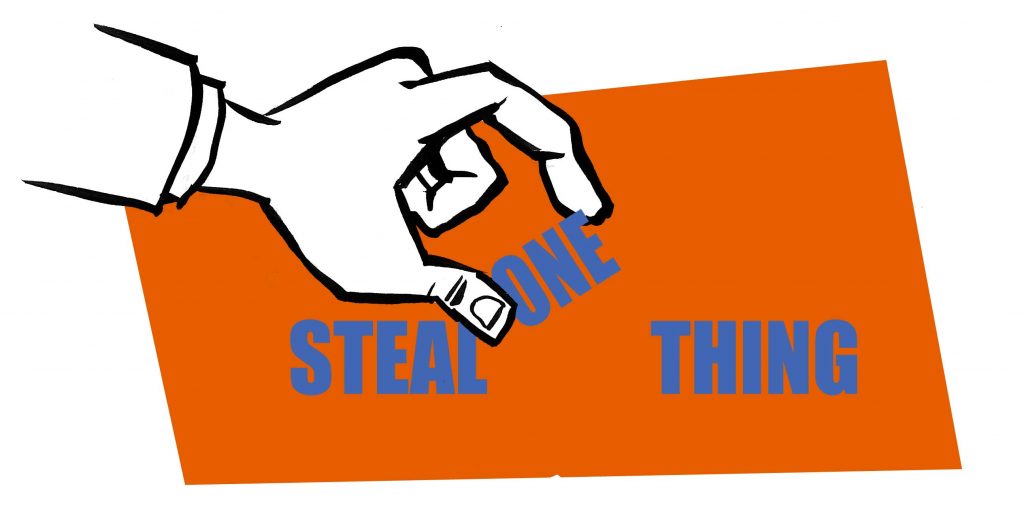
 In his great book Steal like an artist Austin Kleon recommends stealing from various sources in order to create your own unique artistic expression. I wholly endorse this message! But how do I practically implement this advice?
I recently tried out another form of stealing. I’m writing a YA novel in between other gigs and interruptions and often find it hard to get back in the groove, when I finally have the time to work on my story. It’s easy to feel stuck or disconnected from the story.
So I started stealing with intention.
Every time I watch a movie, read a comic or a chapter in the kids book I’m reading aloud to my daughter, I look for one thing I can lift for my own story. It could be anything; a particular conflict (mom vs. daughter), piece of clothing (someone wearing a Nirvana t-shirt), an activity (building a treehouse or playing cards), a tic or a trait. I’ll ask myself what this could be in my story. And like the kids in the story building a tree house out of old planks, something new will start to take shape in my story, even though some of the raw materials is from somewhere else. It also keeps my mind sharp and awake, not just consuming a tv-show or a museum exhibition. I’m looking for something to steal.
You too can try setting this as a sort of dogma rule for yourself, to always look for one thing that you can implement. Treat it like a game! If you can find just one thing to steal from a movie, it can be a bad movie and you still win.
—
Found this article inspiring or helpful? Why not steal share it with a friend?
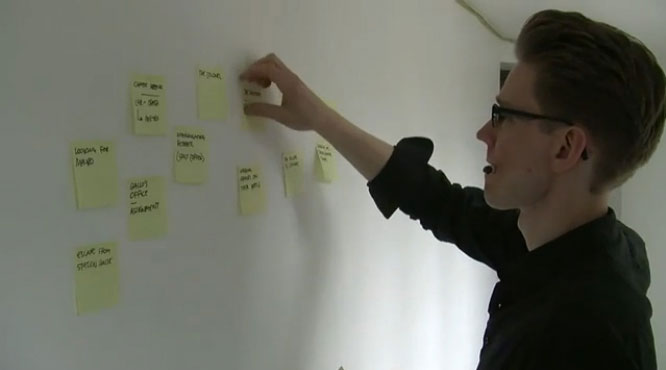
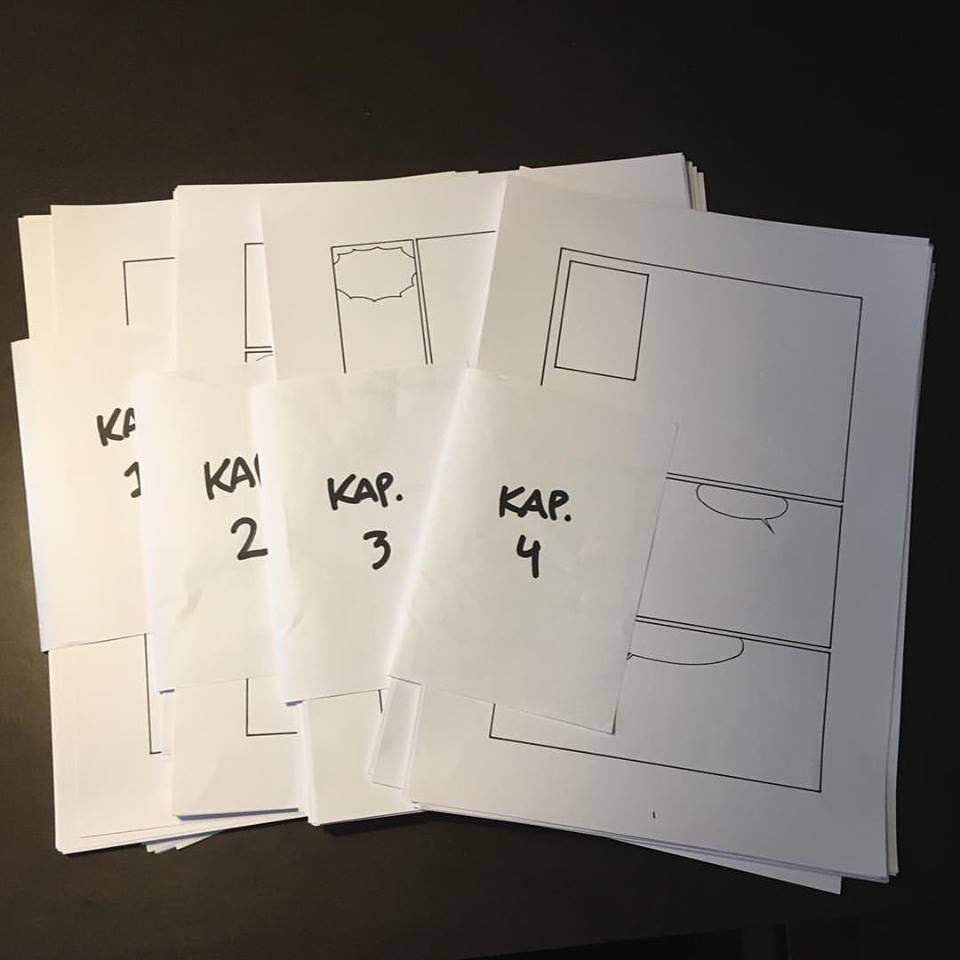 I recently posted this picture on Instagram and Facebook that got a lot of likes – and a lot of questions! So I thought I’d elaborate a bit on how I actually tackle the creation of a comic or graphic novel. I go into detail with certain elements in my
  1: Script
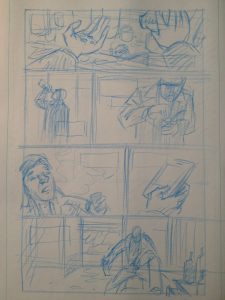 3: Rough sketches
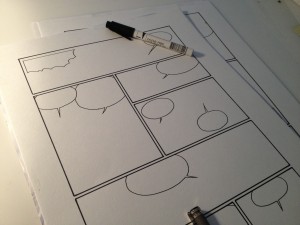 5: Borders and balloons
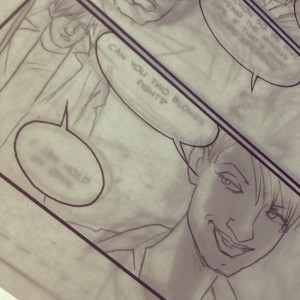 7: Inking
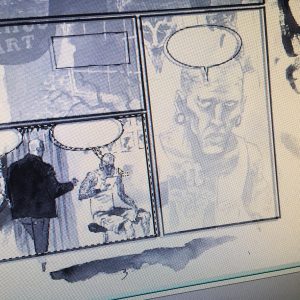 8: Scanning and clean-up.