One of the most important art lessons I ever got was when my studiomate Ole Comoll showed me what tangents are – and how to avoid them.
In this video I try to pass that lesson along while using examples from my own art. Tangents are everywhere – and once you see them, you can’t unseen them. You’ve been warned!
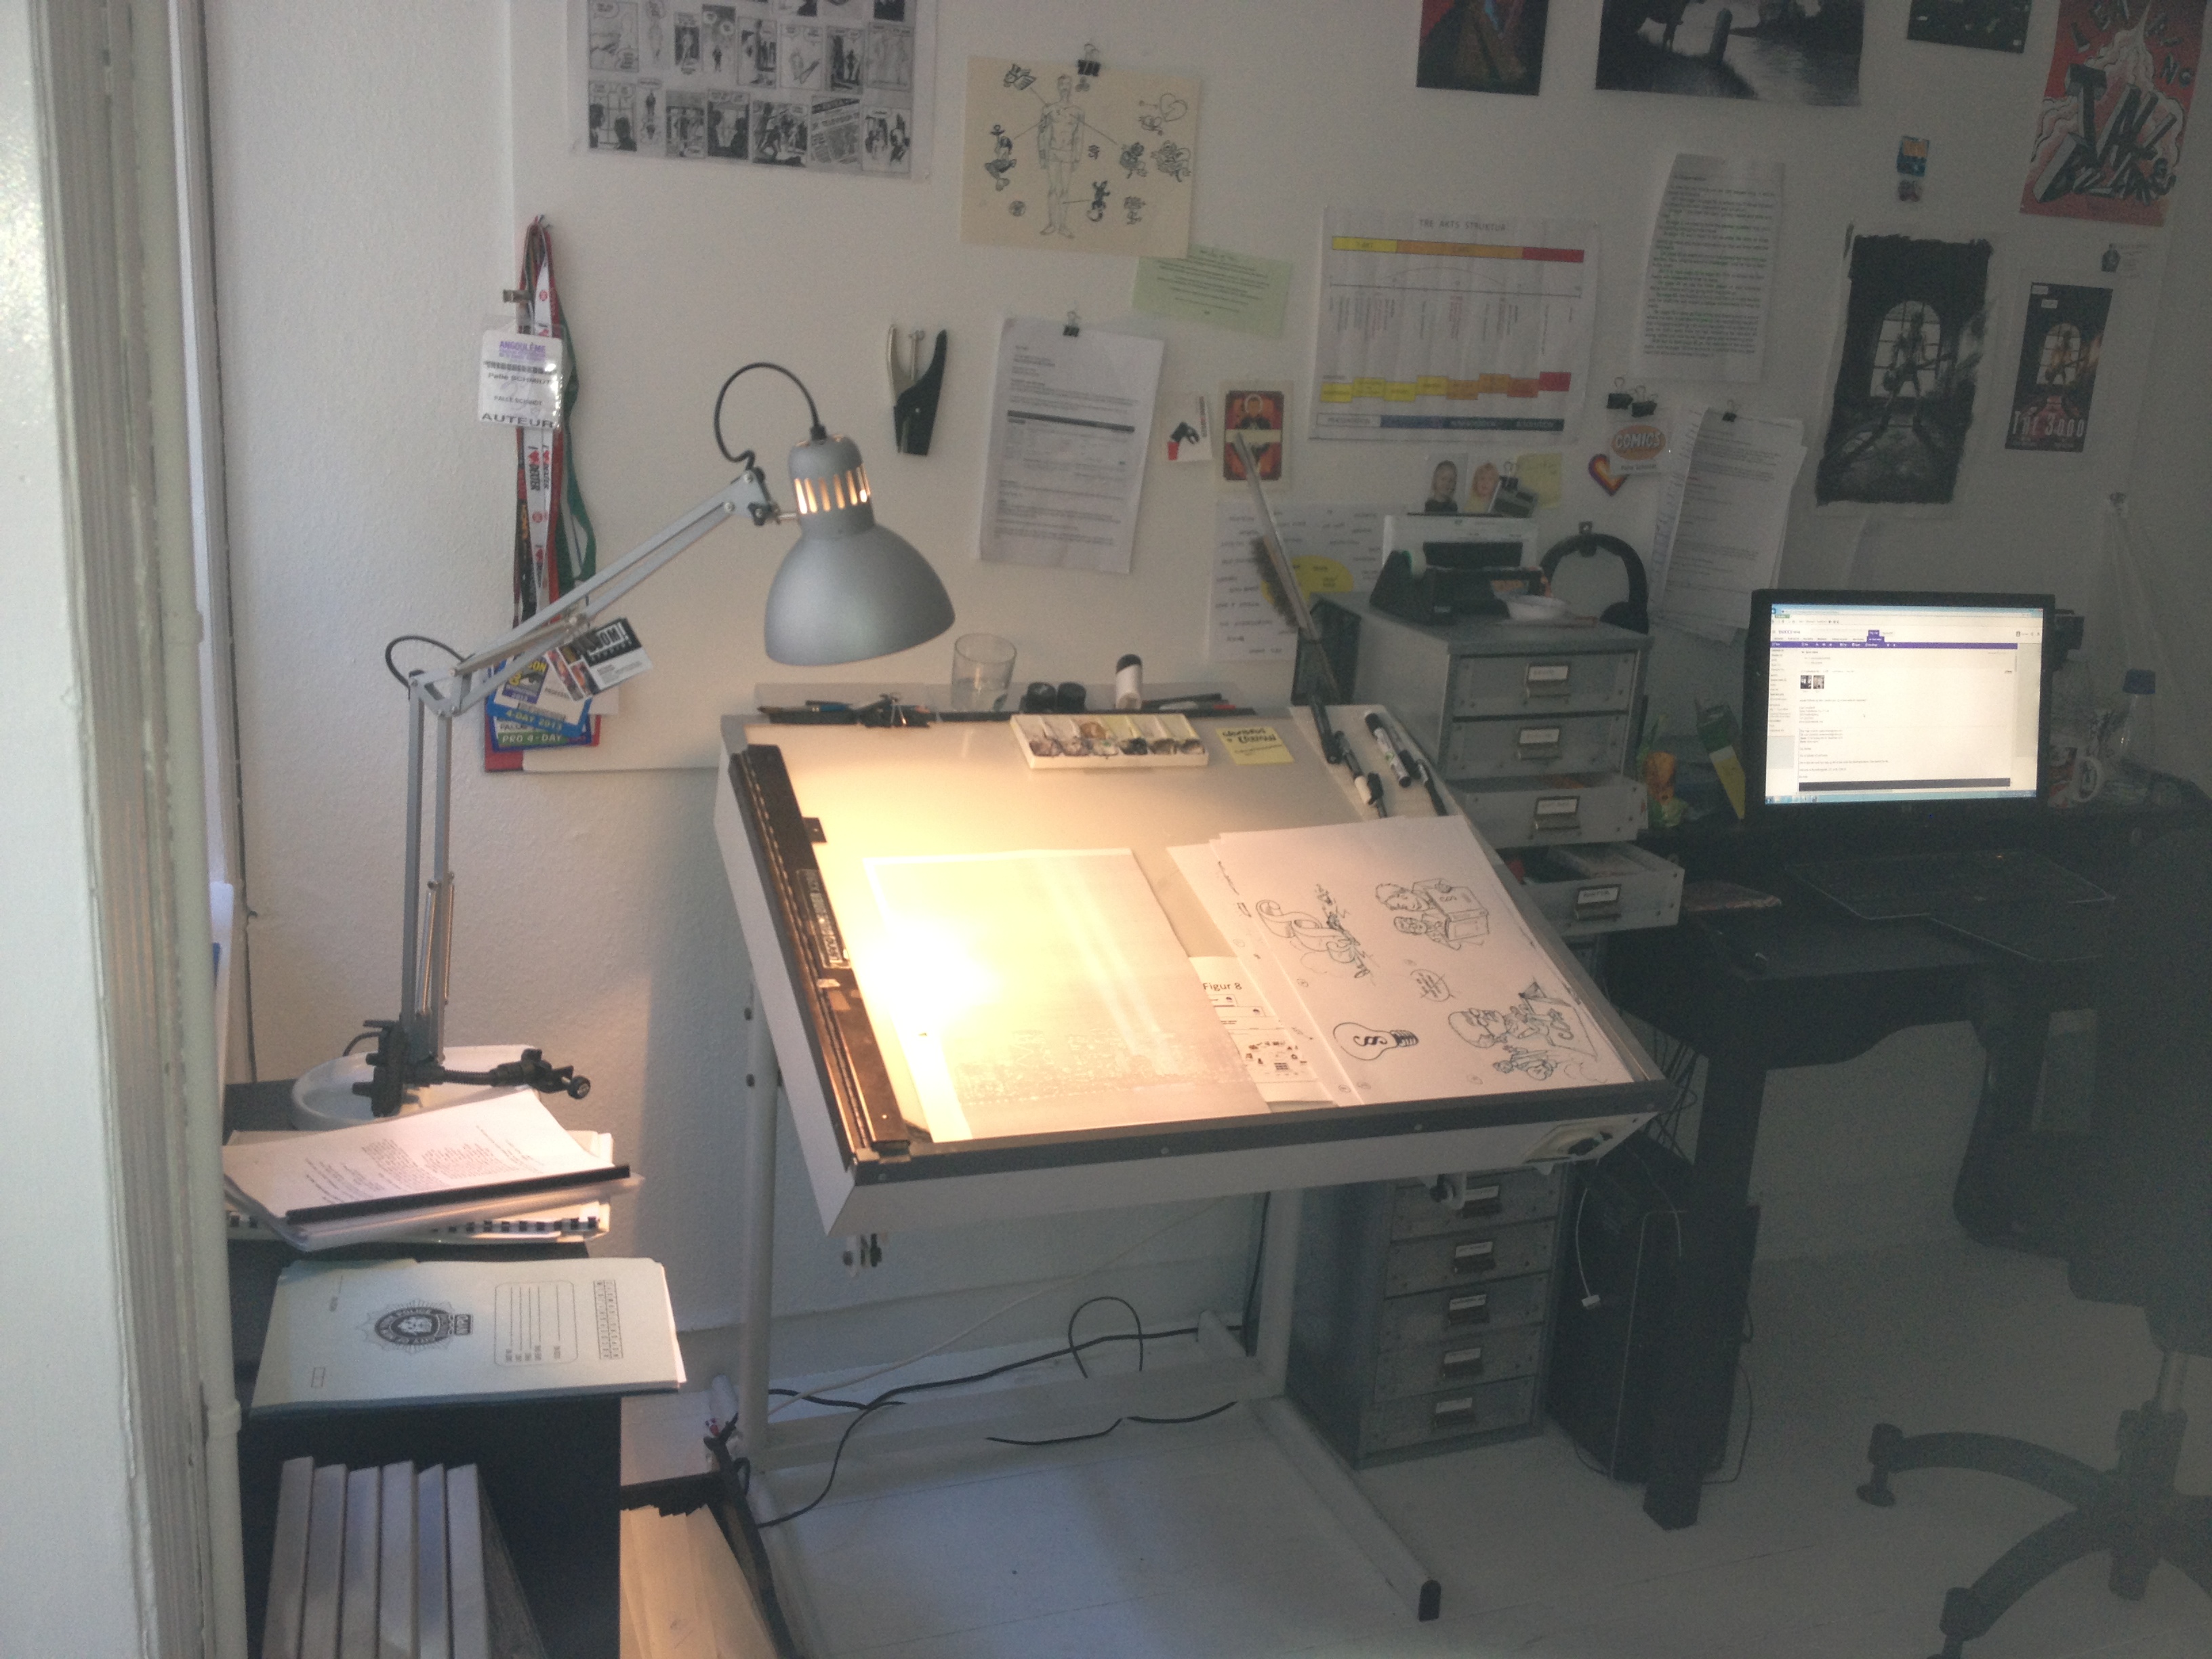
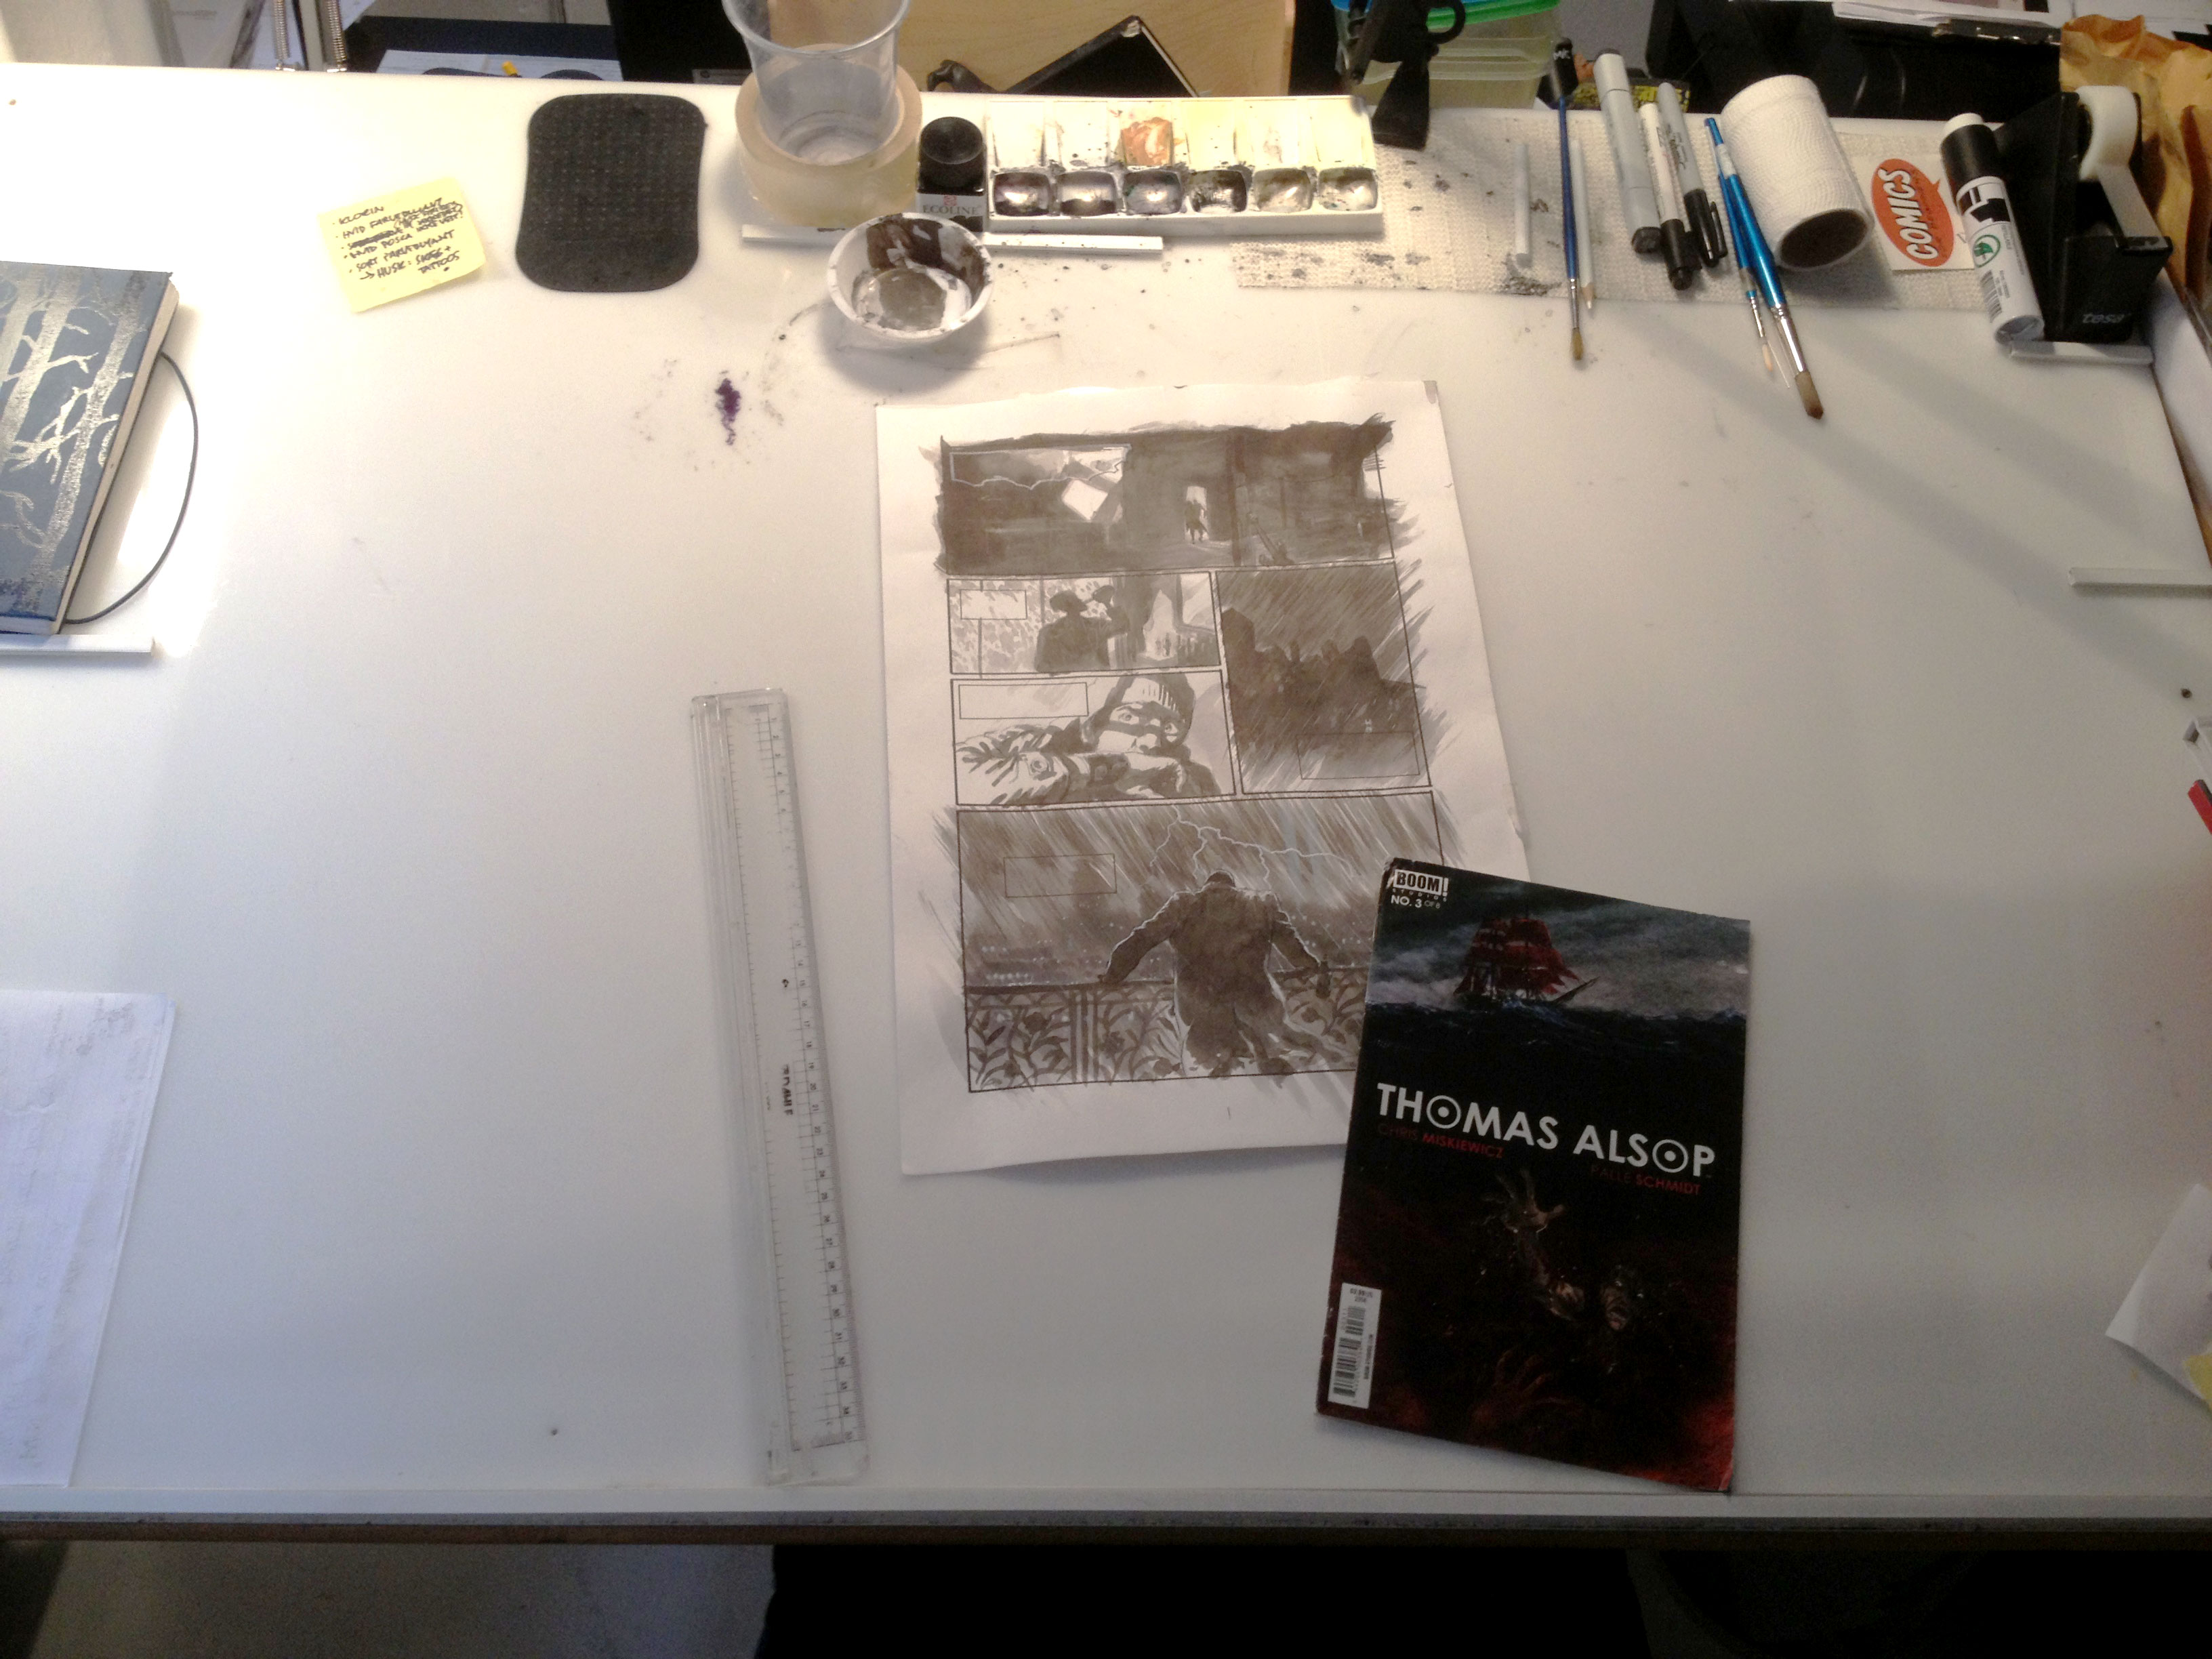
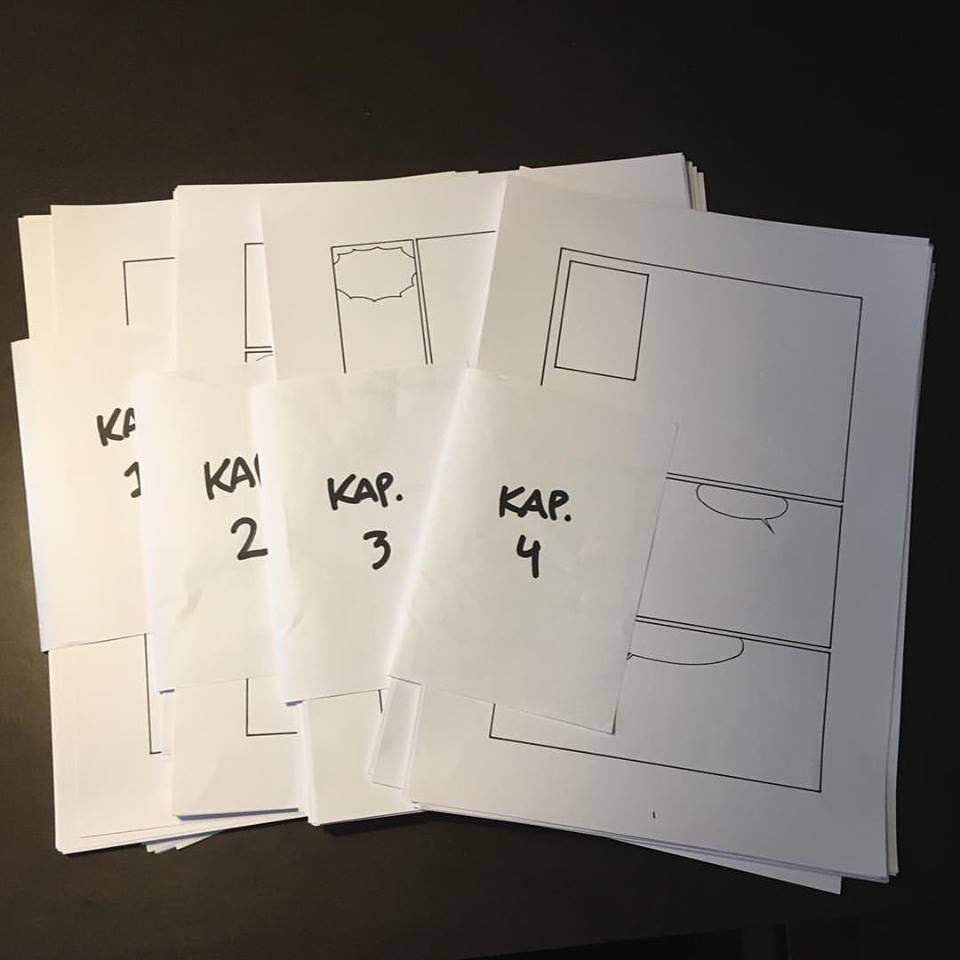 I recently posted this picture on Instagram and Facebook that got a lot of likes – and a lot of questions! So I thought I’d elaborate a bit on how I actually tackle the creation of a comic or graphic novel. I go into detail with certain elements in my
  1: Script
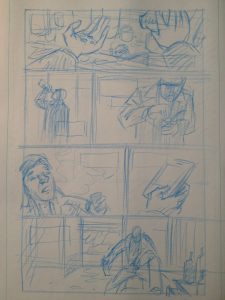 3: Rough sketches
 5: Borders and balloons
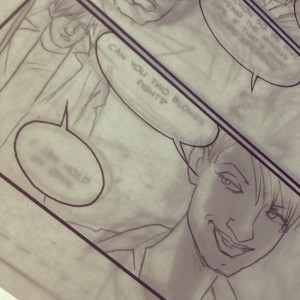 7: Inking
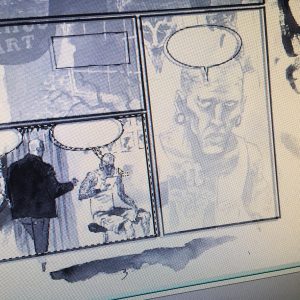 8: Scanning and clean-up.
 I don’t know about you, but I have a to-do list about a mile long. And however many things I check off the list, I never seem to get to the bottom.