Digital coloring can be just as elaborate and detailed as an oil painting. But if you’re just getting started, here is a simple step-by-step guide for getting ready to color your comics in Photoshop.
Step # 1: Scan your line art.
I would recommend scanning in Grayscale and converting to Bitmap after. The resolution should be at least 300 dpi (dots per inch), maybe even 600 dpi. I would also recommend converting your line art to bitmap before you start working on it, to make sure the lines are crisp and clean.
Step # 2: Grayscale to RGB
I know I just told you to convert your line art to Bitmap – But in order to start coloring, you need to convert it back to grayscale, before you can convert it to RGB.
Step # 3: Copy your background layer
Making a copy of your line art layer is a good precaution, in case you screw something up. Click the visibilty of the original layer off and set the layer mode of the copy to “multiply”. This basically transforms your line art layer to the equivalent of clear plastic film that you put on top of your color layer.
Step # 4: Color layer(s)
Make a new layer in “Normal” mode, and make sure to place it under your line art layer.
Step # 5: Start coloring!
That’s it! No more steps really, unless you want to get creative – which you should! But this post is meant to just get you started, so these 5 steps are all you need to know for now, except this:
Bonus step: Save, flatten, save again.
When you have finished coloring your page (and along the way, just to be sure) save your work as a Photoshop file, so you have a back up including all the layers.
Then go to the “layers” menu and click “flatten image”.
If you intend for your comic to be printed, convert the color mode to CMYK and save it as a Tiff file. If it’s for web use or an inkjet printer, keep it in RGB and save it as a Jpeg.
Related post: Tips for Digital Coloring
 Something I’ve been thinking about lately, is how much we as artists (in whatever media or form we work in) are dependent on our own mood and mindset to be prolific or even just get a little something done. Call it tenacity or grit or simply lying self talk that allows for us to continue working on something that the rest of the world deems useless. But what if you’re just not feeling inspired?
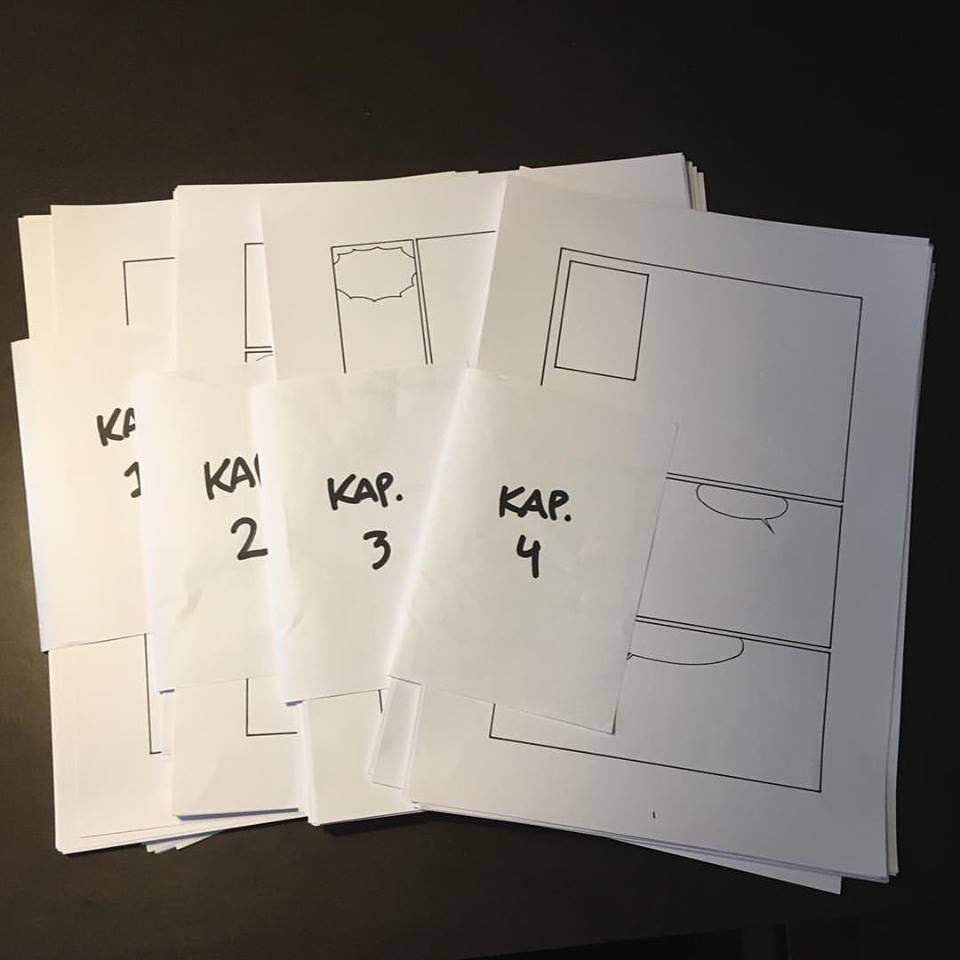 I recently posted this picture on Instagram and Facebook that got a lot of likes – and a lot of questions! So I thought I’d elaborate a bit on how I actually tackle the creation of a comic or graphic novel. I go into detail with certain elements in my
  1: Script
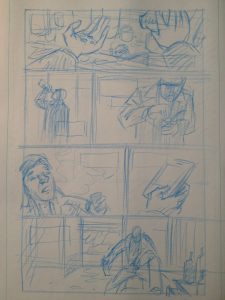 3: Rough sketches
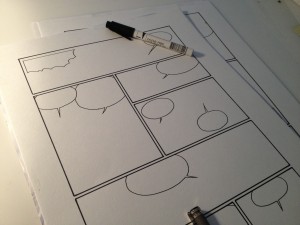 5: Borders and balloons
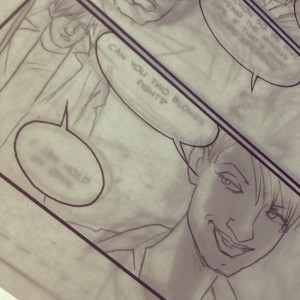 7: Inking
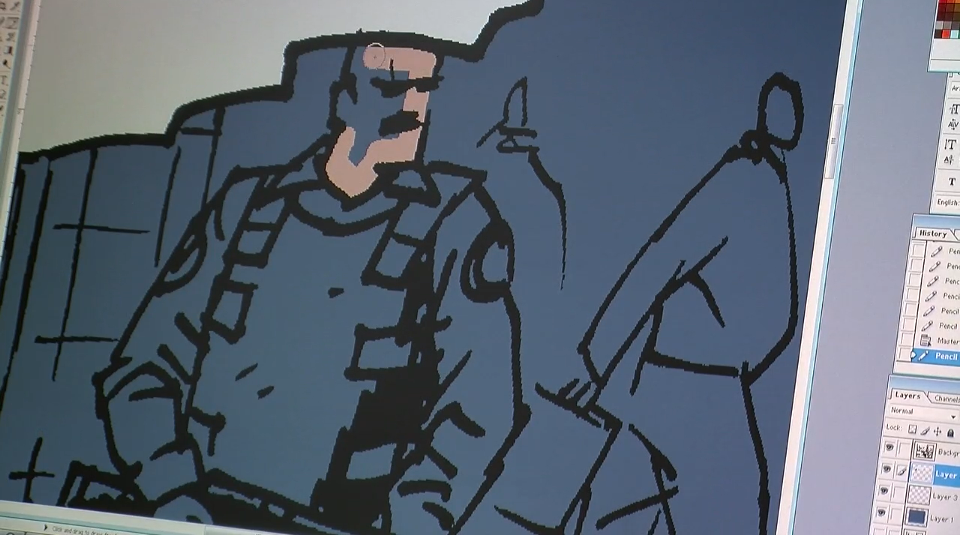
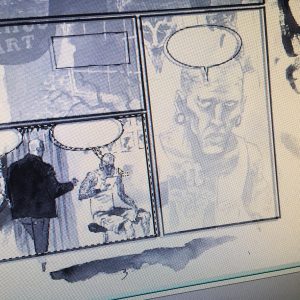 8: Scanning and clean-up.
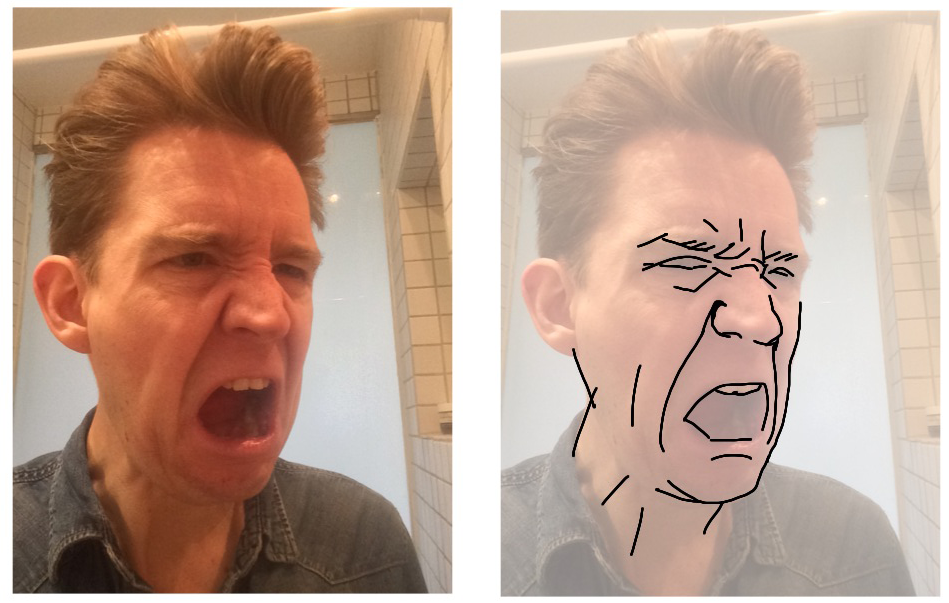 I imagined myself as an old-school drill instructor yelling at his troops. Notice the wrinkles above and across the nose and the downturned corners of the mouth, even though it is wide open.
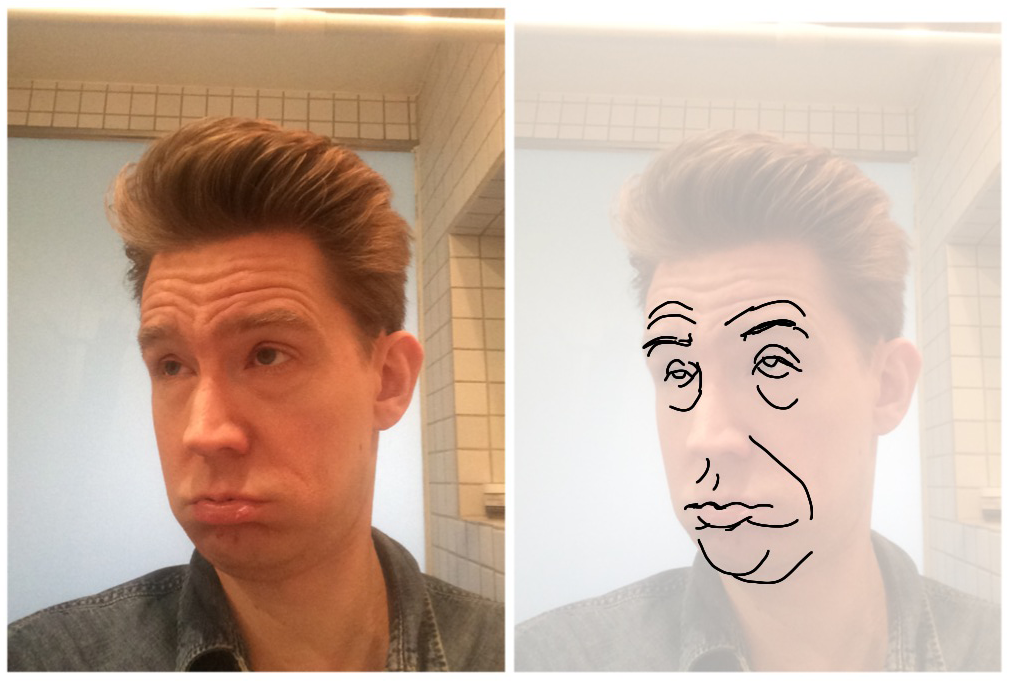 Admittedly this is a pretty exaggareted face I’m making. But notice the raised eybrows and the half-closed eyelids.
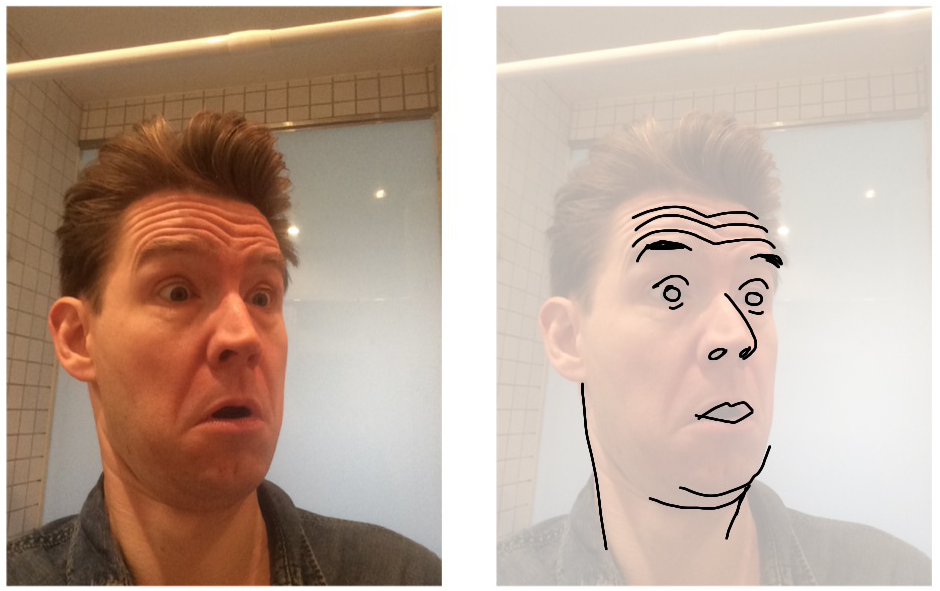 Notice the wide eyes, raised eyebrows and the way the head is tilted back (creating double chins) almost like it’s trying to get away from whatever just popped up.
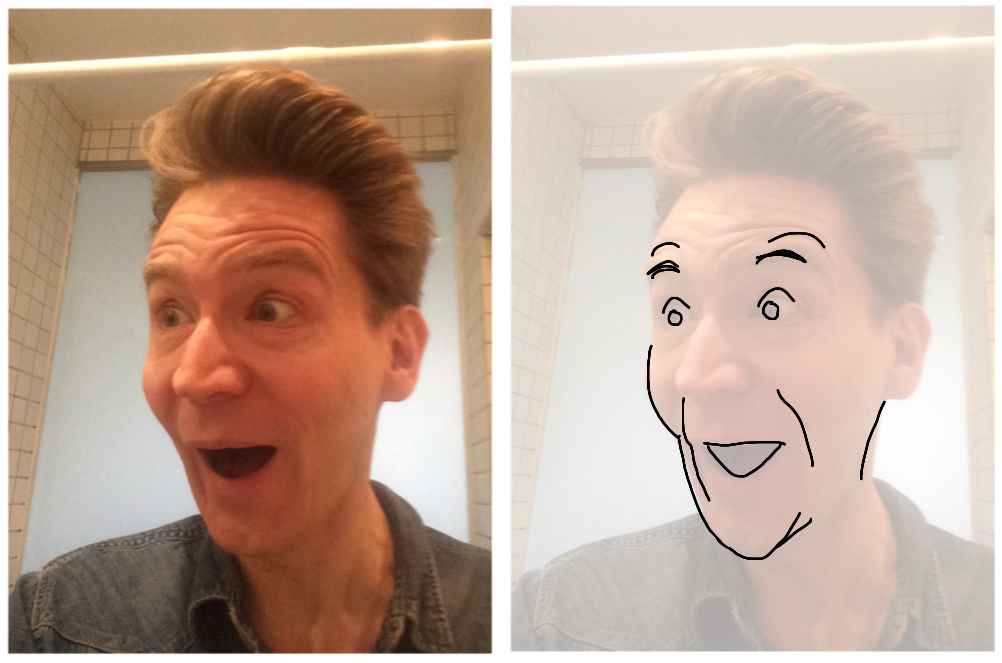 This is sort of the same as surprised only more enthusiastic. I imagined myself as a teenager watching another kid do a cool skateboard trick.
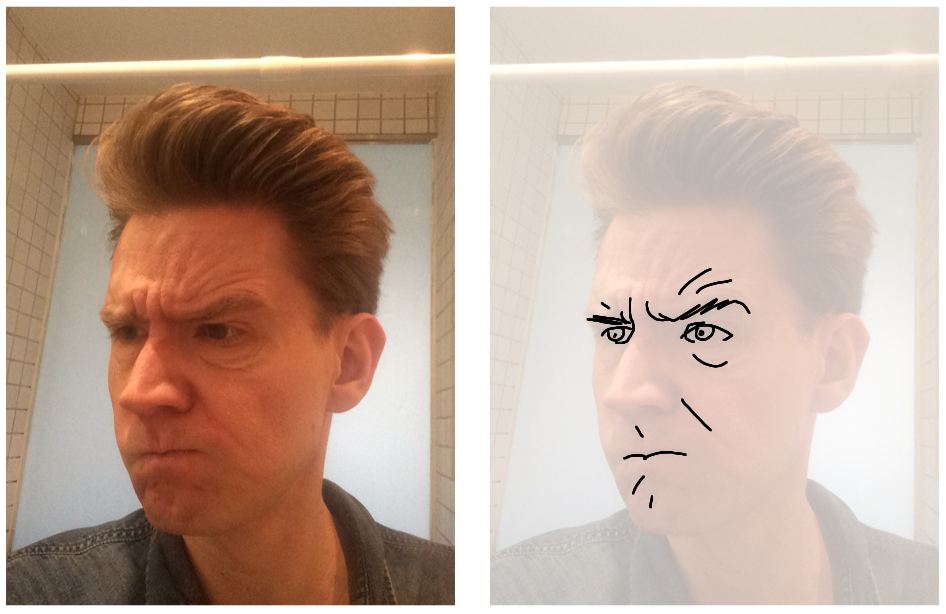 Here’s a guy trying to solve a difficult problem, unaware that anyone is watching him. Note that one eyebrow is up and the other is down – a great way to show conflicting emotions. In this case intrigue and frustration.
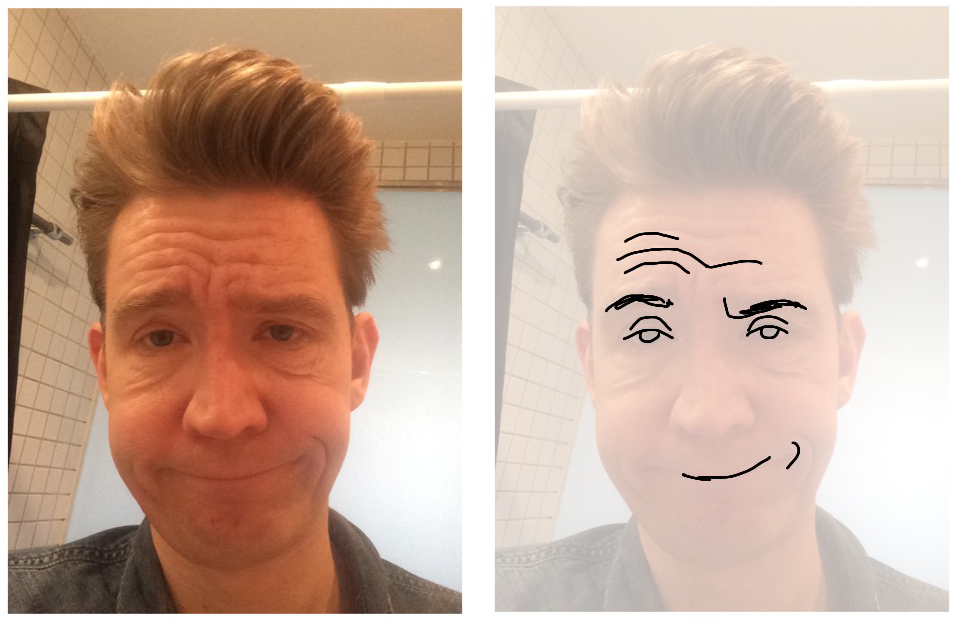 Again an example of one eyebrow up / one down. Also note the half closed eyelids. This is a variation of bored, but with an audience and showing off an element of cockiness (Hence the crooked smile). This guy wants you to know he is not impressed.
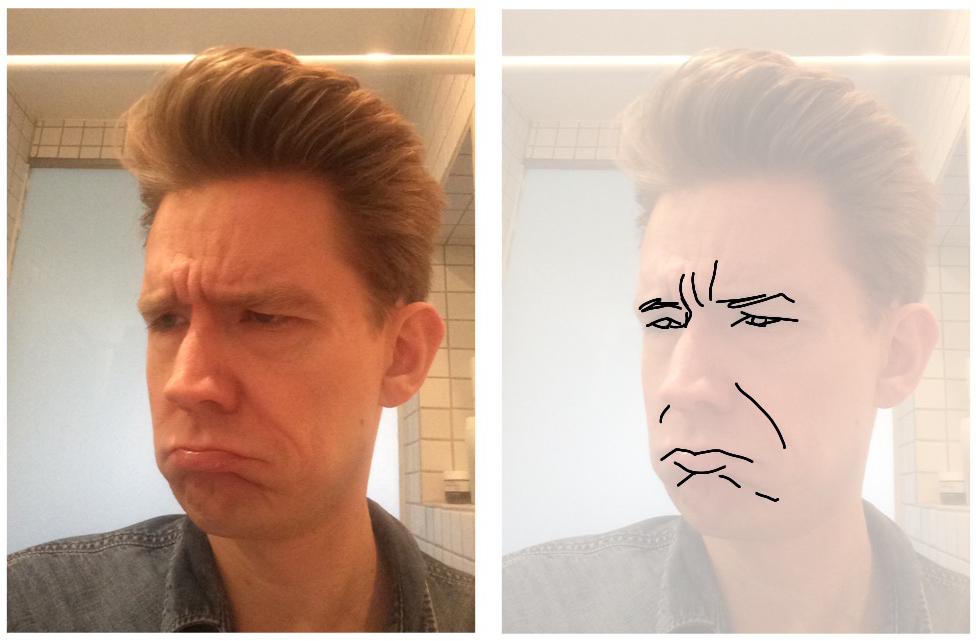 A very childish face. Protruding lower lip and forehead makes like the person is thinking; SO unfair I have to clean my room!
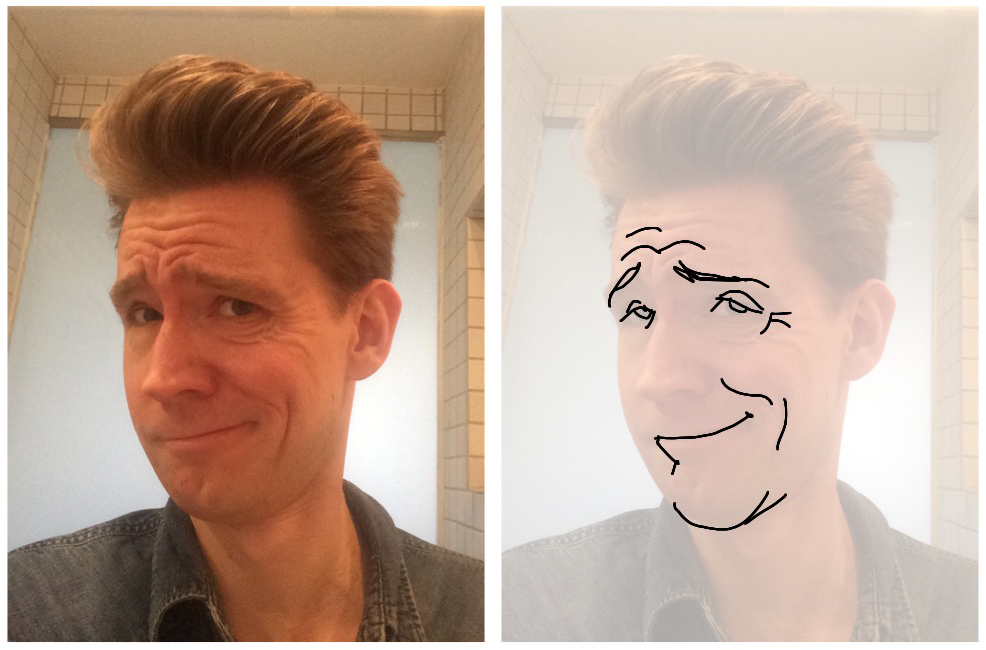 Put a Clark Gable moustache on this guy and he’s a self-loving aristocrat or swashbuckler. Notice the upward-turned eyebrows towards the middle, that combined with the smile gives a very smug expression.
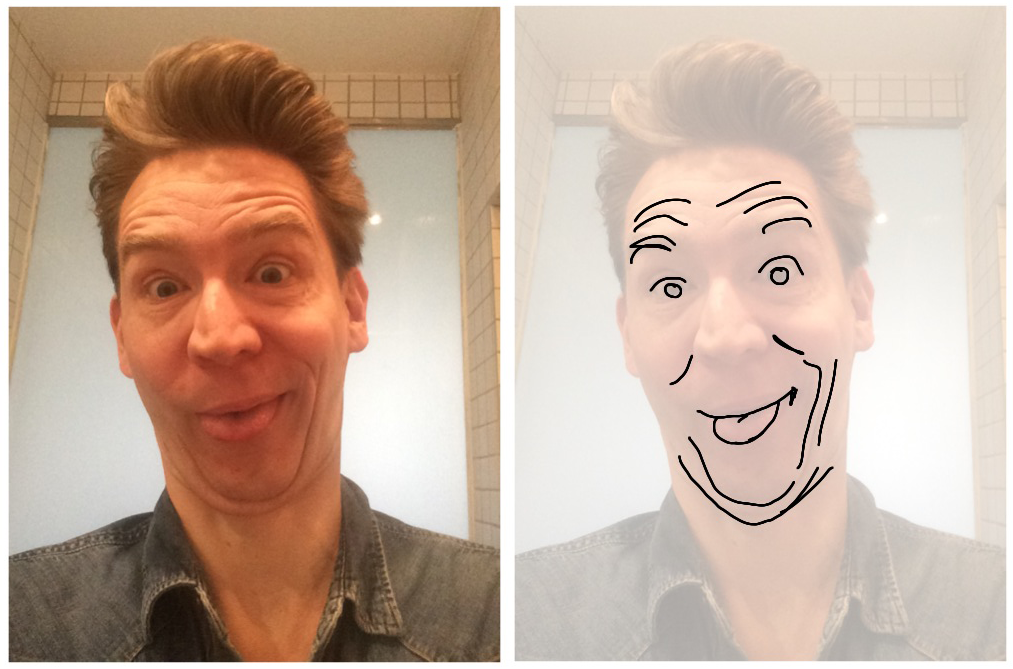 I don’t know when you would ever need to make this face, but I threw it in here in case you ever have to draw a really annoying clown type character. Notice the double chins and stupid grin complete with tongue out that gives away the fact that this guy knows he’s being silly.
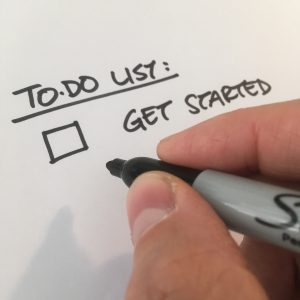 I don’t know about you, but I have a to-do list about a mile long. And however many things I check off the list, I never seem to get to the bottom.