Digital coloring can be just as elaborate and detailed as an oil painting. But if you’re just getting started, here is a simple step-by-step guide for getting ready to color your comics in Photoshop.
Step # 1: Scan your line art.
I would recommend scanning in Grayscale and converting to Bitmap after. The resolution should be at least 300 dpi (dots per inch), maybe even 600 dpi. I would also recommend converting your line art to bitmap before you start working on it, to make sure the lines are crisp and clean.
Step # 2: Grayscale to RGB
I know I just told you to convert your line art to Bitmap – But in order to start coloring, you need to convert it back to grayscale, before you can convert it to RGB.
Step # 3: Copy your background layer
Making a copy of your line art layer is a good precaution, in case you screw something up. Click the visibilty of the original layer off and set the layer mode of the copy to “multiply”. This basically transforms your line art layer to the equivalent of clear plastic film that you put on top of your color layer.
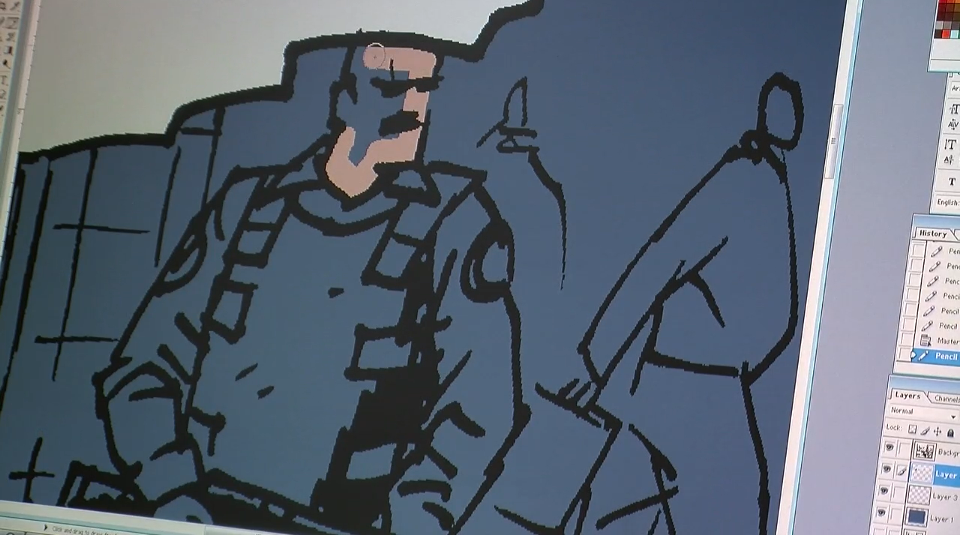
Step # 4: Color layer(s)
Make a new layer in “Normal” mode, and make sure to place it under your line art layer.
Step # 5: Start coloring!
That’s it! No more steps really, unless you want to get creative – which you should! But this post is meant to just get you started, so these 5 steps are all you need to know for now, except this:
Bonus step: Save, flatten, save again.
When you have finished coloring your page (and along the way, just to be sure) save your work as a Photoshop file, so you have a back up including all the layers.
Then go to the “layers” menu and click “flatten image”.
If you intend for your comic to be printed, convert the color mode to CMYK and save it as a Tiff file. If it’s for web use or an inkjet printer, keep it in RGB and save it as a Jpeg.
Related post: Tips for Digital Coloring