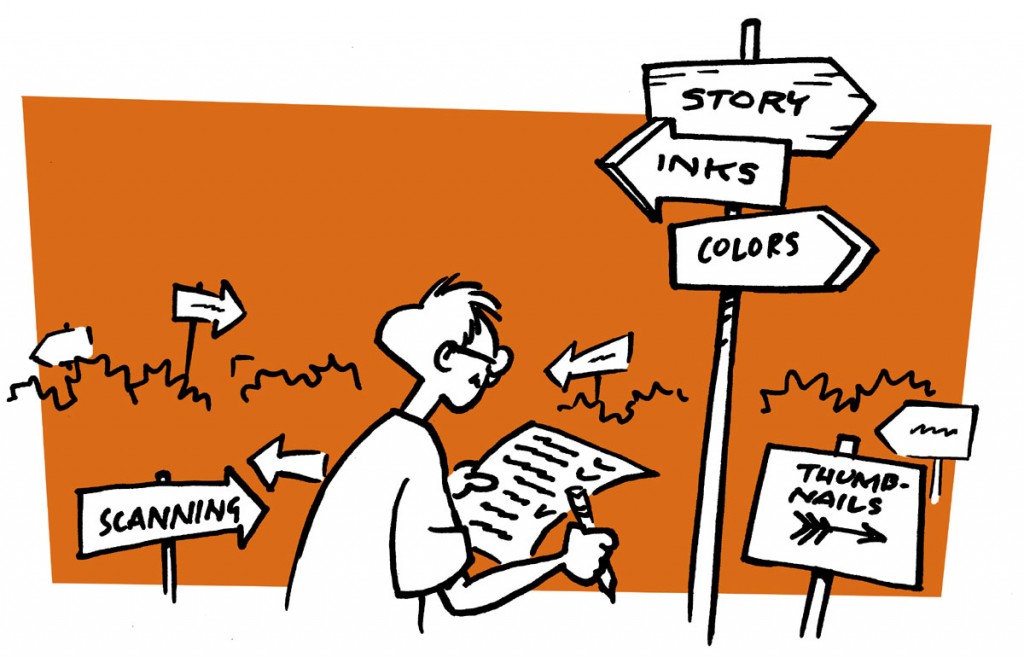
Comics are a great medium for anyone to express their unique outlook – and it’s completely free to make! This article is a short step-by-step guide on how to make your own comic book.
Getting ready
Preparation is crucial if you want to end up with a finished comic. A few things to consider before you put pen to paper:
- Plan ahead! Have a story ready before you start drawing.
- Design your main characters on separate sheets of paper. Draw them from different angles and decide on everything from their clothes to their way of speaking. Keep these style guides handy for later reference.
- Search Google for images that inspire or may be used in the story.
- Do some tests on sketching and inking to decide on the look and tone of the story – and to see how long it takes to draw a finished panel!
- If it’s your first time making comics, start small! It’s much better to have a finished three-page comic to show your friends, than an unfinished 120-page graphic novel taking up shelf space in your room.
Write your own comic
When the time comes for writing your comic, you need to decide on the length and complexity of the story. If it’s a longer graphic novel, write an actual script, so you can edit and make sure the story holds water before you start drawing. If it’s comic strip, perhaps it’s faster to just do a sketch version with dialogue.
Here are a few tips on writing your comic book script:
- Before you start drawing a lengthy graphic novel, make sure the script is (almost) all figured out. At the very least, you need a detailed outline, with beginning, middle and end!
- Have someone you trust read through your script and give you notes. Listen carefully and thank them for their input – but decide for yourself whether their notes are useful or not!
- Make sure your main character is interesting and likeable enough that people will want to root for him/her and follow their story.
- Make sure the ending ties up every (or most) of the loose ends and leaves the reader satisfied with the resolution – whether it’s a “happy ending” or not!
How to draw a comic book
The best trick to drawing anything, is to look at pictures or real objects. The next best trick is to do lots and lots of sketching before you start inking!
Here are a few tips if you want to draw your own comic book:
- Make smaller “thumbnail” drawings, doodles or layouts if you will. Plan your pages without worrying too much about the details!
- The less routine you have as an artist, the more sketching you probably have to do. Use tracing paper or transfer your initial sketches on a lightbox.
- Use a blue pencil for help lines and add an extra layer of sketching with a regular pencil. Think of it as honing in on a target – no one will see your missteps and drawing mistakes in the final artwork!
- Begin with blobs or stick figures, flesh them out as you go. Don’t worry about getting it right the first time.
Tips for inking comics
There are many ways to ink a comic book page. You can use any tool – marker, brush, quill even pencil – just make sure you find a tool you LIKE to use, and the final result turns out good. Here are a few generic guidelines:
- Make sure the inking style fits the tone of the story! For a cartoon, a varied brush-like line looks great, for a horror story, be sure to use lots of blacks!
- Figuring out where the blacks should go BEFORE you start inking is a great way of time and effort.
- Take a photocopy of your sketched page, and test out where the blacks should be. Try to work in printsize or even smaller – that saves you both time and ink!
- When inking your page, try to get a piece of paper or drawing board larger than the format it should be printed in. This allows you to add in more detail and a wider range in line size.
- Use thicker lines or heavier blacks on the foreground and thinner lines and less detail for the background.
- Remember you can always do corrections with whiteout or redraw portions of a panel (this is where a light box comes in handy!). Do the best you can, knowing you don’t have to chuck an entire page because you make a mistake.
Coloring comics
A little color goes a long way!
If you have a computer or even an iPad, using an art program the easiest (and least messy!) way to get some color on your page. Most cartoonists I know use Photoshop or Manga Studio.
Here are a few guidelines on computer coloring:
- Make sure to scan your line art in high resolution! At least 600 dpi.
- Clean up your pages before you start coloring, and make sure you save a black & white copy on your harddrive!
- When coloring, you should always color in a separate layer than the line art! Put your line art over the color layer, set it to multiply.
- Duplicate your line art layer, and click it invisible, so that IF you accidentally color in your line art layer, you can easily recover your line art.
- Try to decide a color palette before you splash every page with a gazillion colors. It saves you time and makes for a better result. Double win!
- Use warmer colors for people and objects in the foreground, cooler colors for background.
- Use colors to help tell the story! If a particular thing is important for the reader to spot, make it bright red in a less colorful panel.
- If you want to color by hand, use a copy, NOT your original page! Watercolor, markers or crayons will do fine. You can even experiment with colored paper and just a few highlights with a white pencil – looks great!
Hope this little how-to article was helpful to you. If you want more in-depth tutorials check out the premium program here!


Leave a Reply
You must be logged in to post a comment.